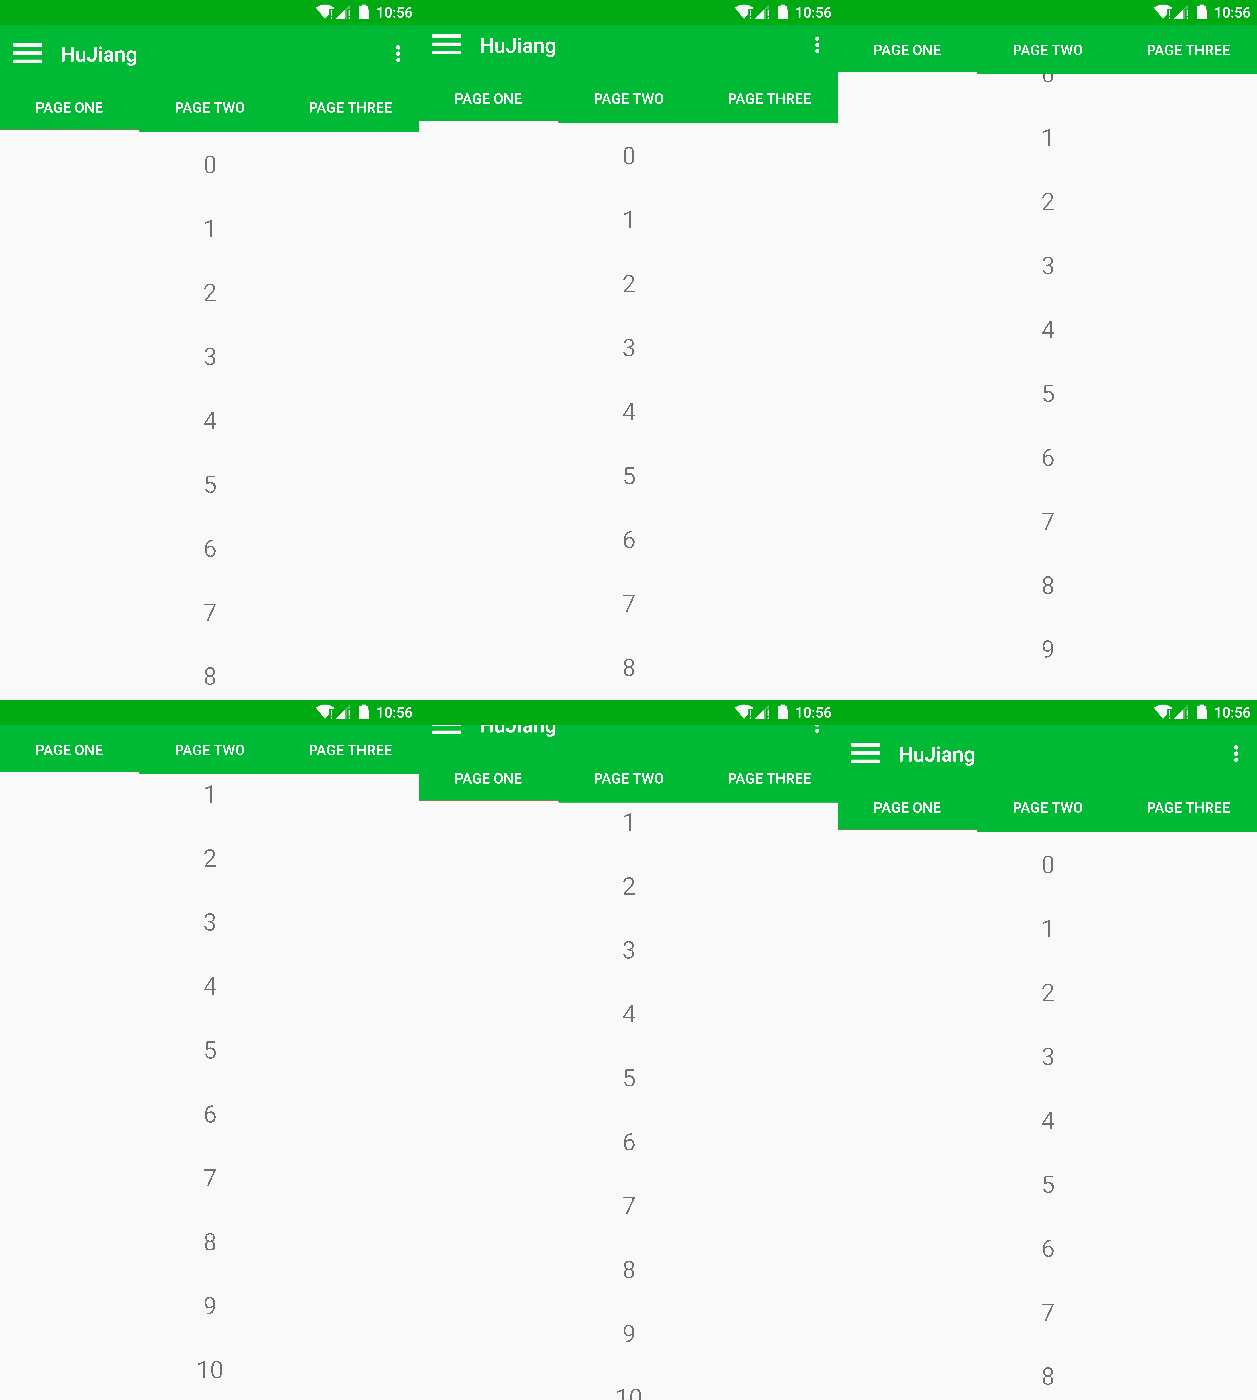
Material Design 是 google 大力推广的 android app 设计模式。我个人还是挺喜欢的,因为界面比较简洁,动画效果也不错。但是要从头实现这些效果也不是一件容易的事,所以为了拉拢开发者,google 推出了一系列 support library: support-v7-appcompat, support-v7-cardview, support-v7-recyclerview, support-v7-palette 已经今天要介绍的 support-design。开发者通过这些库能够很方便的构造出 Material Design 模式的界面。
简单使用
其实我用 support design 的初衷是因为头要仿 ios 短信的一个效果,就是在列表上面有个搜索框,向下滑动的时候会消失,向上滑动又回出来,就像这样:
于是我就发现用 support-design 库正好有这个效果(google 不要怪我拿你的库是仿 ios 哈)。首先要引用 support-design 可以直接在 build.gradle 中直接写:
1
2
3
4
5
dependencies {
compile 'com.android.support:appcompat-v7:22.2.0'
compile 'com.android.support:recyclerview-v7:22.2.0'
compile 'com.android.support:design:22.2.0'
}
但是一般我还是会按照 使用 gradle 定制渠道包 这里的做法弄成本地库来引用的。support-design 需要依赖 support-v4, support-v7-appcompat, support-v7-recycleriew, 所以需要先把这些库弄好(这里就不说 gradle 怎么配置了,上一篇有介绍)。
然后实现这个功能的是 CoordinatorLayout 。它是一个功能很强大的 layout,同时也挺复杂的。它继承自 ViewGroup (support-design 的源码在 framework/support/design 下面)。主要是依靠 childview 中定义的 Behavior 产生不同的表现,进而实现不同的 UI 效果。我现在仿 ios 的就是其中的一个 Behavior 实现的。这个用法其实很简单,在布局中这么用就行了:
1
2
3
4
5
6
7
8
9
10
11
12
13
14
15
16
17
18
19
20
21
22
23
24
25
26
27
28
29
30
31
32
33
34
35
36
37
38
39
40
41
42
43
44
45
46
47
48
49
50
51
52
53
54
55
56
57
58
59
60
<?xml version="1.0" encoding="utf-8"?>
<RelativeLayout xmlns:android ="http://schemas.android.com/apk/res/android"
xmlns:app ="http://schemas.android.com/apk/res-auto"
android:layout_width ="match_parent"
android:layout_height ="match_parent" >
<LinearLayout
android:id ="@+id/top"
android:layout_width ="match_parent"
android:layout_height ="wrap_content"
android:orientation ="horizontal"
android:background ="#ffff0000" >
<Button
android:id ="@+id/btn_scroll"
android:layout_width ="wrap_content"
android:layout_height ="wrap_content"
android:text ="scroll" />
<Button
android:id ="@+id/btn_fix"
android:layout_width ="wrap_content"
android:layout_height ="wrap_content"
android:text ="fix" />
</LinearLayout >
<android.support.design.widget.CoordinatorLayout
android:id ="@+id/main_content"
android:layout_width ="match_parent"
android:layout_height ="match_parent"
android:layout_below ="@+id/top" >
<android.support.design.widget.AppBarLayout
android:id ="@+id/app_bar"
android:layout_width ="match_parent"
android:layout_height ="wrap_content"
android:theme ="@style/ThemeOverlay.AppCompat.Dark.ActionBar" >
<EditText
android:id ="@+id/edit_text"
app:layout_scrollFlags ="scroll|enterAlways"
android:layout_width ="match_parent"
android:layout_height ="wrap_content"
android:textSize ="14sp" />
</android.support.design.widget.AppBarLayout >
<android.support.v7.widget.RecyclerView
android:id ="@+id/list_view"
android:layout_width ="match_parent"
android:layout_height ="match_parent"
app:layout_behavior ="@string/appbar_scrolling_view_behavior" />
</android.support.design.widget.CoordinatorLayout >
</RelativeLayout >
就这样就能有上面 gif 上那个效果了。还真的方便咧。不过需要注意下面提供滑动的 view 支持 ListView、GridView、RecyclerView,好像不支持 ScrollView 。
特殊需求
但是仿 ios 还有一个需求,就是在搜索框输入了内容进入搜索模式后,搜索框就要固定在顶部,不能消失,直到退出搜索模式才会恢复滑动收缩。用上面的列子说:这就要求能够动态改变 EditText 滑动收缩的属性。在讨论如何动态设置 EditView 的滑动收缩属性的时候,我们先来简单看下 CoordinatorLayout 的一些原理,上面就在 xml 里定义几个属性就能实现这么 cool 的效果,是不是有点神奇咧,而且也有点怪。
CoordinatorLayout 简介
前面说了 CoordinatorLayout 是依靠 childview 的 Behavior 来产生不同的 UI 效果的。 Behavior 是 CoordinatorLayout 中的定义的一个抽象类,主要是一些 onTocuhEvent, onInterceptTouchEvent, 还有一些布局之类的接口的定义(这里不展开讲实现,这个还是挺复杂的,这里只是简介一下)。在 CoordinatorLayout 的内部类 LayoutParams 里(虽然说是简介,也简单讲下代码):
1
2
3
4
5
6
7
8
9
10
11
12
13
14
15
16
17
18
19
20
21
22
23
24
25
26
27
28
29
30
31
32
33
34
35
36
37
38
39
40
41
42
43
44
45
46
47
48
49
50
51
52
53
54
55
56
57
58
59
60
61
62
63
64
65
66
67
68
69
LayoutParams(Context context, AttributeSet attrs) {
super (context, attrs);
final TypedArray a = context.obtainStyledAttributes(attrs,
R.styleable.CoordinatorLayout_LayoutParams);
this .gravity = a.getInteger(
R.styleable.CoordinatorLayout_LayoutParams_android_layout_gravity,
Gravity.NO_GRAVITY);
mAnchorId = a.getResourceId(R.styleable.CoordinatorLayout_LayoutParams_layout_anchor,
View.NO_ID);
this .anchorGravity = a.getInteger(
R.styleable.CoordinatorLayout_LayoutParams_layout_anchorGravity,
Gravity.NO_GRAVITY);
this .keyline = a.getInteger(R.styleable.CoordinatorLayout_LayoutParams_layout_keyline,
-1 );
mBehaviorResolved = a.hasValue(
R.styleable.CoordinatorLayout_LayoutParams_layout_behavior);
if (mBehaviorResolved) {
mBehavior = parseBehavior(context, attrs, a.getString(
R.styleable.CoordinatorLayout_LayoutParams_layout_behavior));
}
a.recycle();
}
... ...
static Behavior parseBehavior(Context context, AttributeSet attrs, String name) {
if (TextUtils.isEmpty(name)) {
return null ;
}
final String fullName;
if (name.startsWith("." )) {
fullName = context.getPackageName() + name;
} else if (name.indexOf('.' ) >= 0 ) {
fullName = name;
} else {
fullName = WIDGET_PACKAGE_NAME + '.' + name;
}
try {
Map<String, Constructor<Behavior>> constructors = sConstructors.get();
if (constructors == null ) {
constructors = new HashMap<>();
sConstructors.set(constructors);
}
Constructor<Behavior> c = constructors.get(fullName);
if (c == null ) {
final Class<Behavior> clazz = (Class<Behavior>) Class.forName(fullName, true ,
context.getClassLoader());
c = clazz.getConstructor(CONSTRUCTOR_PARAMS);
c.setAccessible(true );
constructors.put(fullName, c);
}
return c.newInstance(context, attrs);
} catch (Exception e) {
throw new RuntimeException("Could not inflate Behavior subclass " + fullName, e);
}
}
然后上面 xml 中指定的 @string/appbar_scrolling_view_behavior 在 design 的 res/values/string.xml 中的定义是:
1
2
<string name ="appbar_scrolling_view_behavior" translatable ="false" > android.support.design.widget.AppBarLayout$ScrollingViewBehavior</string >
其实就是 AppBarLayout 中的内部类 ScrollingViewBehavior,这个是继承了 CoordinatorLayout.Behavior 的,实现了上面的那种搜索效果。所以你如果要自定义实现一些其它的比较 cool 的 UI 效果,可以自己实现 Behavior,不过这个还是挺费劲的(这里提的需求不要自己实现 Behavior)。
但是大家会觉得奇怪,不是应该每一个 CoordinatorLayout 的 childview 都应该有 Behavior 么,为什么 AppBarLayout 没指定咧。是的,我们是没有给 AppBarLayout 指定 Behavior,但是好像工作正常的样子。这个其实要看下 CoordinatorLayout 的这部分代码了:
1
2
3
4
5
6
7
8
9
10
11
12
13
14
15
16
17
18
19
20
21
22
23
24
25
26
27
LayoutParams getResolvedLayoutParams(View child) {
final LayoutParams result = (LayoutParams) child.getLayoutParams();
if (!result.mBehaviorResolved) {
Class<?> childClass = child.getClass();
DefaultBehavior defaultBehavior = null ;
while (childClass != null &&
(defaultBehavior = childClass.getAnnotation(DefaultBehavior.class)) == null ) {
childClass = childClass.getSuperclass();
}
if (defaultBehavior != null ) {
try {
result.setBehavior(defaultBehavior.value().newInstance());
} catch (Exception e) {
Log.e(TAG, "Default behavior class " + defaultBehavior.value().getName() +
" could not be instantiated. Did you forget a default constructor?" , e);
}
}
result.mBehaviorResolved = true ;
}
return result;
}
上面那个说 @ 注释的,好像不太好理解,那稍微看下 AppBarLayout 的代码就能马上理解了:
1
2
3
4
5
6
7
8
9
10
11
12
13
14
15
16
17
@CoordinatorLayout .DefaultBehavior(AppBarLayout.Behavior.class)
public class AppBarLayout extends LinearLayout
... ...
public static class Behavior extends ViewOffsetBehavior <AppBarLayout >
... ...
}
... ...
}
这里 google 是玩了比较高级玩意,利用注释来写代码了 … 所以如果你没有指定 AppBarLayout 的 behavior 就会默认用它内部的一个默认实现。所以如果你要使用上面这种收缩效果,你必须要使用 AppBarLayout 来包裹你要收缩的 childview , 这也解释了为什么刚开始的时候,我以为随便拿个 FrameLayout 把上面的要收缩的 view 包裹,但是发现没用。如果你想省事,就老老实实用 design 库提供的这些容器来玩,否则你就得啥轮子都自己造,design 库就只提供了一个架子而已。
解决需求
铺垫了这么多该说怎么实现我们的特殊需求了。这个需求其实就是说要能够动态开关 AppBarLayout 中的 childview 的那个收缩属性。其实这个属性也是在 xml 中定义的,由 AppBarLayout 的 LayoutParams 解析:
1
2
3
4
5
6
7
8
9
10
11
12
13
public LayoutParams (Context c, AttributeSet attrs) {
super (c, attrs);
TypedArray a = c.obtainStyledAttributes(attrs, R.styleable.AppBarLayout_LayoutParams);
mScrollFlags = a.getInt(R.styleable.AppBarLayout_LayoutParams_layout_scrollFlags, 0 );
if (a.hasValue(R.styleable.AppBarLayout_LayoutParams_layout_scrollInterpolator)) {
int resId = a.getResourceId(
R.styleable.AppBarLayout_LayoutParams_layout_scrollInterpolator, 0 );
mScrollInterpolator = android.view.animation.AnimationUtils.loadInterpolator(
c, resId);
}
a.recycle();
}
然后我发现 AppBarLayout.LayoutParams 有一个方法,好像可以动态设置 mScrollFlags:
1
2
3
4
5
6
7
8
9
10
11
12
13
14
15
public void setScrollFlags (@ScrollFlags int flags) {
mScrollFlags = flags;
}
于是我试了下修改这个标志:
1
2
3
4
5
6
7
8
9
10
11
12
13
14
15
16
private void setScrollEnable (boolean enable) {
AppBarLayout.LayoutParams appbarLp = (AppBarLayout.LayoutParams)
mEditText.getLayoutParams();
if (null == appbarLp) {
return ;
}
if (enable) {
appbarLp.setScrollFlags(AppBarLayout.LayoutParams.SCROLL_FLAG_SCROLL
| AppBarLayout.LayoutParams.SCROLL_FLAG_ENTER_ALWAYS);
} else {
appbarLp.setScrollFlags(0 );
}
}
设置了之后,好像没作用,但是但是界面动几下就生效了。我稍微翻了下代码,好像是修改了这个 mScrollFlags 之后还需要重新布局的,所以加了下面这句就 OK 了:
1
2
3
4
5
6
7
8
9
10
11
12
13
14
15
16
17
private void setScrollEnable (boolean enable) {
AppBarLayout.LayoutParams appbarLp = (AppBarLayout.LayoutParams)
mEditText.getLayoutParams();
if (null == appbarLp) {
return ;
}
if (enable) {
appbarLp.setScrollFlags(AppBarLayout.LayoutParams.SCROLL_FLAG_SCROLL
| AppBarLayout.LayoutParams.SCROLL_FLAG_ENTER_ALWAYS);
} else {
appbarLp.setScrollFlags(0 );
}
mCoordinatorLayout.requestLayout();
}
这样就能动态开关 childview 的搜索属性了。
小结
这个 design 库还是挺不错的,带了不少 Material Design 的 UI 效果,其实这个 CoordinatorLayout 设计思路和实现都很强大,有时间好好吃透了(哎 … 有时间 … →_→ )。
